

Choosing the best Uv Dtf Ink in 2026 is not about picking the brightest bottle on a product page. It means matching ink to your printer, film, curing setup, and intended surfaces. A small mismatch can show up as muted color, poor adhesion, or clogged nozzles. The sample may look perfect. The production run may not.
A fictional composite print specialist, Lena Ortiz, sums up a careful approach: “Test the ink in your own workflow before trusting a full run.” That is practical advice, not a verified quotation from a real industry professional. Compare color consistency, drying behavior, flexibility, and manufacturer compatibility guidance. Check the ink’s storage requirements, too; a neglected bottle can become an expensive lesson. Keep test prints and record settings, including curing conditions and film type. These notes help you spot patterns instead of guessing. There is no universal winner. Even a well-reviewed ink can behave differently across equipment and materials. I would not treat one successful sample as proof of long-term reliability. This guide examines the details that matter, so you can make a more informed choice for your specific workflow.
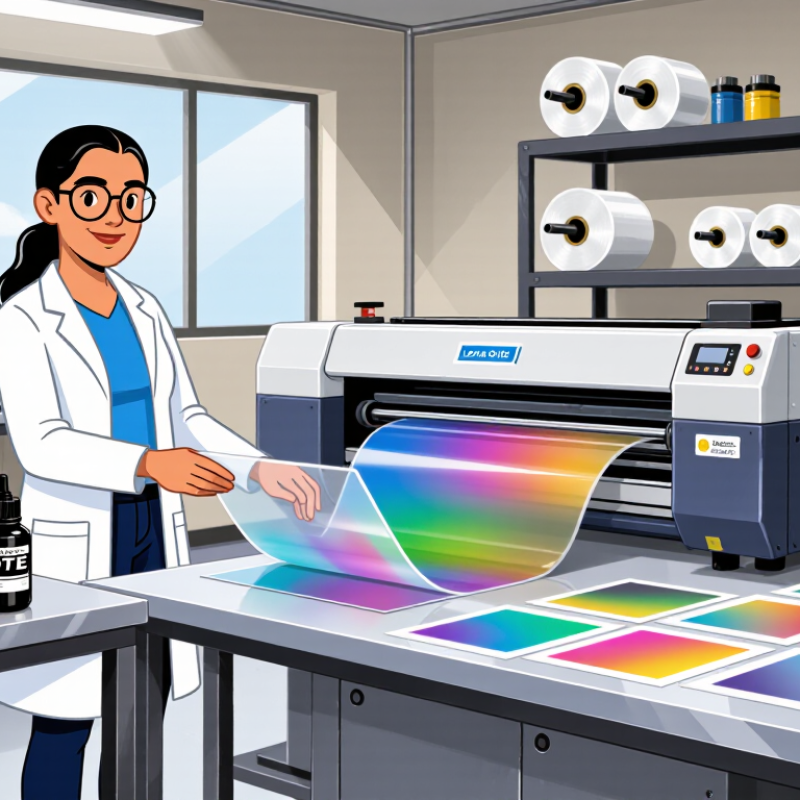
UV DTF ink is a pigmented ink formulated to harden when exposed to ultraviolet light. It is printed onto a transfer film rather than directly onto the final object. UV energy activates components in the ink, forming a solid layer that holds pigment on the film. It does not dry by evaporation like many conventional inks. That layer matters.
In a typical process, a printer lays down color, and often white ink, onto a coated film. White ink can help colors stay visible on dark or transparent surfaces. A clear varnish may add shine or texture. UV lamps cure each layer during printing, then a second film is laminated over the design. The finished transfer is pressed onto a clean surface, such as a glass jar or smooth plastic case, and the carrier film is peeled away. The ink stays behind as a thin printed layer.
The ink’s flow, curing response, and adhesion all affect transfer quality. A design may look crisp on film but lift at the edges on a dusty or curved object. Surface preparation and compatible films matter as much as the ink itself. This is where real setups vary. Printer speed, lamp output, and ink thickness can change how fully a layer cures, so test transfers before a large run. There is no universal setting, and even a small adjustment may improve results.
How to Choose the Best UV DTF Ink in 2026?
How to Check Ink Compatibility With Your Printer and Film
Start with your printer’s technical manual, not the ink label. Check the permitted ink chemistry, viscosity range, surface tension, and curing wavelength. Even small differences can affect drop formation, nozzle reliability, and cure quality. Then compare the ink’s technical data sheet with the film supplier’s specifications. Confirm that both A-film and transfer adhesive are intended for the same UV-curing process. A glossy test print is not enough; poor adhesion may appear only after peeling or bending.
Use a controlled test: print a small patch, cure it at the recommended settings, then apply the transfer film and peel it at a consistent angle. Check for pinholes, edge lifting, tackiness, and color transfer. ASTM D3359 assesses coating adhesion on a 0-to-5 scale, offering a useful reference for documenting test results. It does not replace a film-specific trial. A clean-looking sample can still fool you.
Tips: Record ink batch, film lot, lamp setting, and room conditions. Change one variable at a time. Let the sample rest before judging adhesion; rushing this step can lead to a false pass. If the printer maker’s approved ink list and the film data sheet disagree, pause and request written compatibility guidance.
Adhesion starts with the surface, not the ink alone. A smooth glass tumbler and a textured plastic case can behave very differently. Check whether the ink bonds to your actual substrates, then test the finished transfer after application. ASTM D3359-23 provides a practical benchmark: its tape-test ratings run from 0B, indicating substantial coating removal, to 5B, indicating no removal. Strong results on one material do not guarantee the same outcome on another. Test each surface.
Color depends on pigment strength, curing, and film thickness. Ask suppliers for measured color data, not only attractive sample prints. ISO/CIE 11664-6 defines the CIEDE2000 method for comparing color differences; a spectrophotometer can help track shifts between batches. There is no universal pass value for every job. Set a tolerance that fits the artwork, and inspect small text, skin tones, and solid color areas under consistent lighting. Small differences can still look obvious.
Durability needs more than a quick rub with a cloth. Check scratch resistance, flexibility, water exposure, and performance after repeated handling. Record curing settings and application pressure, since either can change the result. Run tests on real items and allow the transfer to settle before judging it. That wait matters. Honestly, one test can still miss a failure that appears weeks later, so keep a few samples for follow-up checks.
Match ink to the finished object, not just its surface label. Rigid glass, coated metal, and hard plastics often need ink with strong surface adhesion. Flexible items, such as curved cosmetic containers, need a formulation that tolerates bending without cracking. For dark or clear materials, a white layer can improve opacity; clear varnish adds gloss or texture. Check that the ink is designed for your printer and UV DTF film system. A mismatch can cause poor curing or transfer failure.
Grand View Research estimated the global UV-curable inks market at about USD 1.7 billion in 2023, reflecting broad demand across printing applications. That figure is not specific to UV DTF, and market growth does not guarantee performance on your substrate. Test a small sample first. Apply the complete transfer, including the adhesive film, then check edges, rub resistance, and adhesion after handling. ASTM D3359 describes tape-based coating adhesion tests; adapt any check carefully, since a transfer is not simply a coating.
Tips: Keep a sample log. Note the material, ink set, curing settings, and result. A glass bottle may look clean but still release at the edges. That detail is easy to miss. Some surfaces also vary between batches, so repeat testing when suppliers or finishes change.
How to Test, Compare, and Select UV DTF Ink for 2026
Choose ink by testing it in your actual workflow, not by relying on a color chart alone. Confirm compatibility with your printer, film, adhesive, and curing setup before buying. Print identical designs with each candidate, using the same settings and substrate. Check fine text, solid color blocks, and white underbase coverage under neutral lighting. A bright sample can still hide weak adhesion or uneven curing.
Tips: Label each test sheet with the ink, date, settings, and material. Let samples rest for the same period. Then check edges, rub resistance, and flexibility on a curved surface. Keep the results. No test is perfect; pressure and room conditions can change the outcome.
Compare consistency across several prints, not just one successful sheet. Look for clogged nozzles, banding, slow curing, or color shifts between runs. Test on the surfaces your customers actually use, such as glass, coated metal, or plastic. Follow the equipment and ink supplier’s handling and curing instructions. If adhesion fails, adjust one variable at a time. That takes longer, but it helps identify the cause. Recheck your choice when materials, settings, or production conditions change.